
A wooden deck is a fantastic addition to any backyard, offering a functional and stylish outdoor space to relax, entertain, or enjoy the fresh air. Using treated pine decking makes the project both cost-effective and durable. Whether you’re a DIY enthusiast or a first-time builder, this How to Build a Wooden Deck A Step by Step Guide will walk you through the process of building your own wooden deck.
Why Choose Treated Pine for Your Deck?
Treated pine is one of the most popular materials for decking. It’s affordable, easy to work with, and resistant to rot, pests, and decay. With the right care, your deck can last for years while maintaining its natural beauty.
Getting Started: Tools and Materials You’ll Need
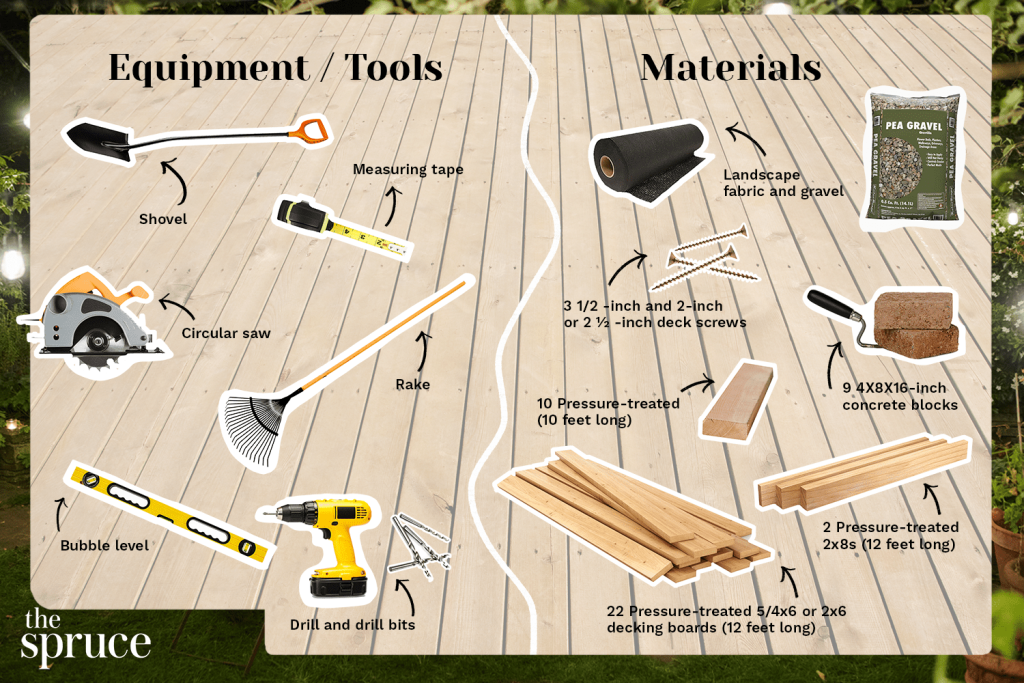
Before starting, gather the essential tools and materials:
Tools:
- Tape measure
- Circular saw
- Power drill and screwdriver bits
- Spirit level
- Hammer
- Spade or posthole digger
- Carpenter’s square
- String line
- Clamps
Materials:
- Treated pine decking boards
- Treated pine joists and bearers
- Deck screws
- Galvanized or stainless-steel nails
- Concrete mix (for footings)
- Decking oil or stain
- Weed mat (optional)
Step 1: Plan Your Deck
Good planning is the foundation of a successful project. Start by determining the size and layout of your deck. Measure the space in your backyard and decide on the deck’s design, including how it will connect to your house or existing structures.
Things to Consider:
- Access Points: Ensure easy access to doors and pathways.
- Sunlight: Think about how the sun moves through your yard and where you want shade or light.
- Local Regulations: Check if you need permits or specific construction guidelines in your area.
Sketch a simple design showing the support posts, bearers, and joists. This plan will guide your construction process.
Step 2: Prepare the Site
- Clear the Area: Remove grass, rocks, and debris from the designated area.
- Level the Ground: Use a rake or shovel to create a flat, stable surface.
- Optional: Lay down a weed mat to prevent weeds from growing under your deck.
Step 3: Install the Footings
Strong, stable footings are crucial for your deck’s foundation.
- Mark Out Positions: Use string lines and stakes to mark the location of each footing.
- Dig the Postholes: Typically, postholes should be 450-600mm deep, depending on your local building requirements.
- Set Posts in Concrete: Place treated pine posts in the holes, ensuring they are level and aligned. Pour concrete around the posts and allow it to cure for the recommended time.
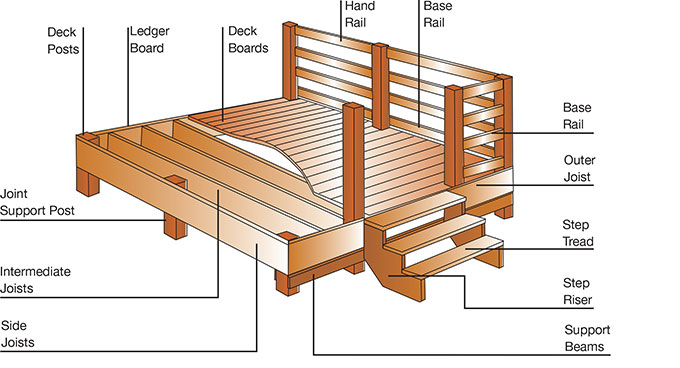
Step 4: Build the Frame
With your footings in place, it’s time to construct the deck frame.
- Attach Bearers: Fix horizontal bearers to the posts using galvanized brackets or screws. Ensure the bearers are level.
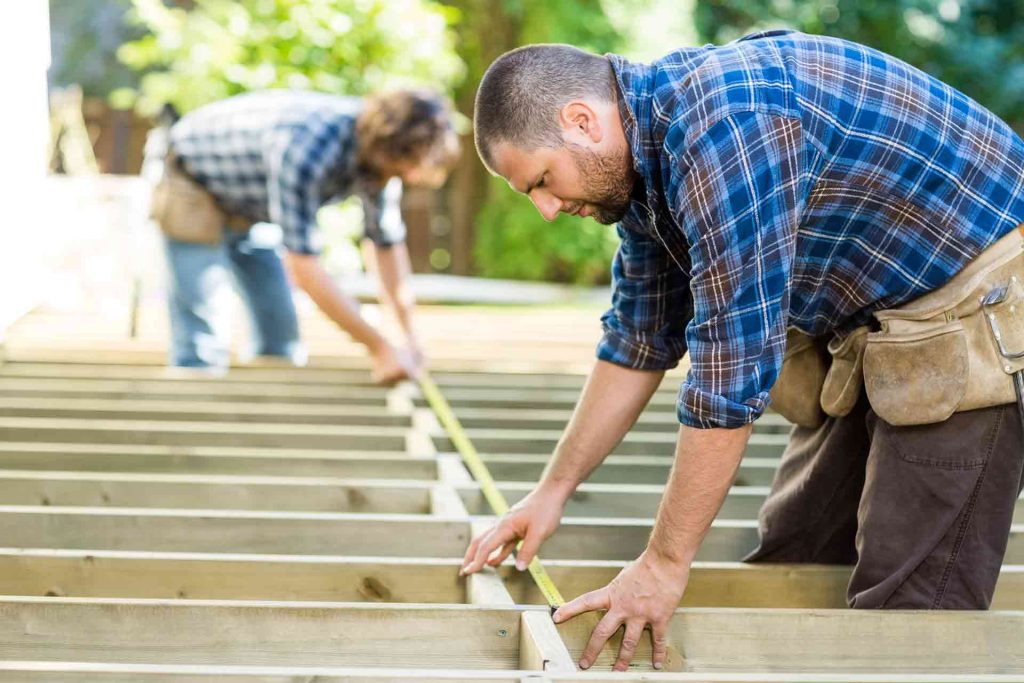
- Install Joists: Lay joists perpendicular to the bearers, spacing them at regular intervals (typically 400mm apart). Secure them with joist hangers.
A solid frame ensures your deck is stable and long-lasting, so take your time during this step.
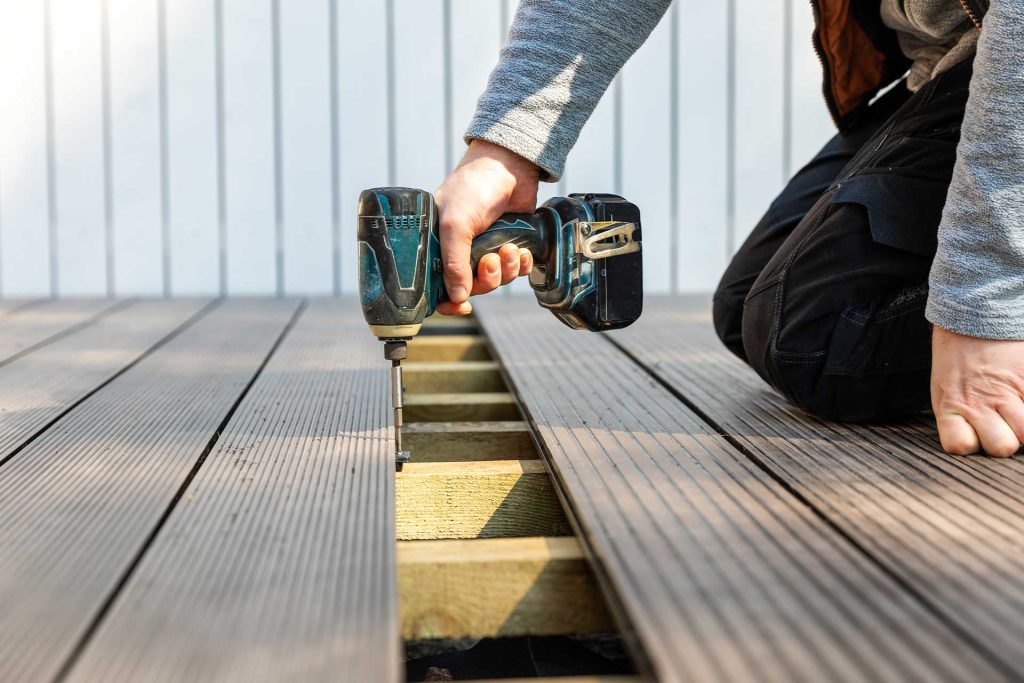
Step 5: Lay the Treated Pine Decking Boards
Now comes the fun part—laying the decking boards!
- Measure and Cut: Cut your treated pine boards to size using a circular saw.
- Space the Boards: Use 3-5mm spacers between each board to allow for natural expansion and drainage.
- Secure the Boards: Attach the boards to the joists with decking screws, ensuring they are flush with the surface.
Step 6: Finish Your Deck
- Trim Excess: Use a circular saw to trim any overhanging decking boards for a neat edge.
- Sand the Surface: Smooth out rough edges or splinters to make the deck safe and comfortable.
- Apply Decking Oil or Stain: Protect the wood from weathering by applying a quality decking oil or stain. This will also enhance the natural beauty of the pine.
Maintenance Tips
To keep your deck looking great and performing well:
- Reapply decking oil or stain every 6-12 months.
- Regularly check for loose screws or damaged boards.
- Clean the deck periodically to remove dirt and debris.
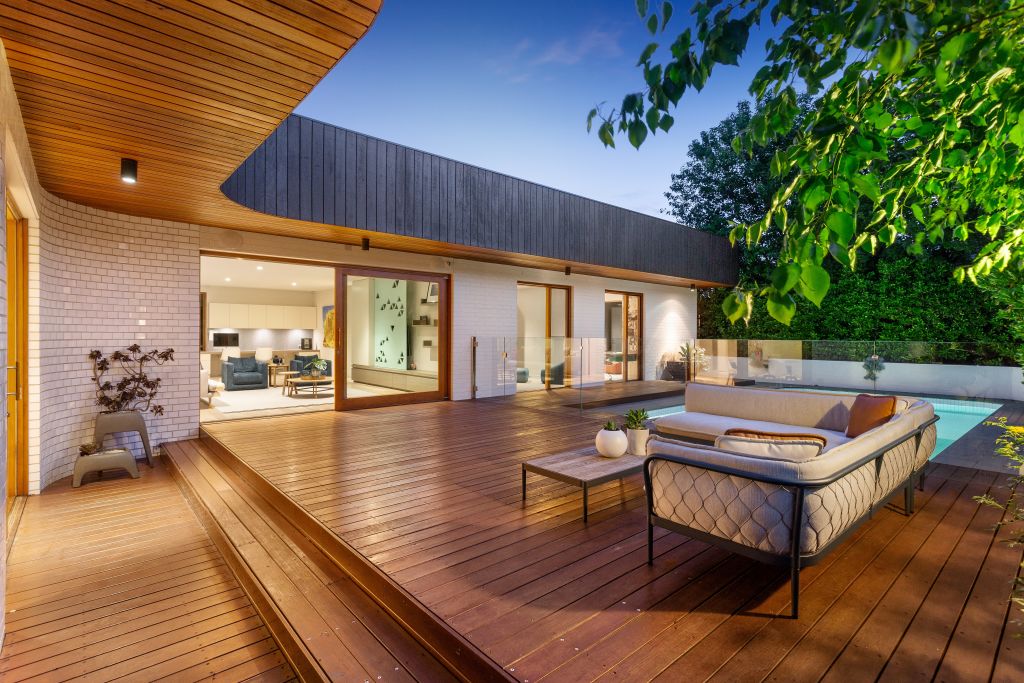
Enjoy Your New Deck
Building a treated pine deck can transform your backyard into a functional, beautiful space for relaxation and entertainment. By following this guide, you’ll create a sturdy, attractive deck that you can enjoy for years to come.
Got questions or tips about building decks? Share them in the comments below!